
Start with a full size drawing. I needed two rounded coaming ends 9 1/2” outside diameter and 1” thick. I set out a quarter circle, adding an eighth inch to the thickness each side for sanding and to be able to correct any inaccuracy.

Next, decide the size of the block of wood that you will make the curve from. I settled on two pieces, to keep the grain running reasonably along the curve. I have some 65 mm thick iroko and playing about a little, found that a piece of wood 200 x 65mm will fit. (Mixing the units here - my ruler is one of those that has inches on one side and millimetres on the other.)

Finally, draw on the radius to the outer corners of the wood stock. This radius and the 200mm length of the block to be cut determine the radius of the circle.

Cut the outer corners radius on a piece of ply or MDF. Clamp to the bandsaw table so that the blade starts the cut just behind the first corner. Reminder that dust extraction is essential. My saw is running here at its limit of 170mm (7 inches). Feed the block, pressing against the jig to form the inside shape. I did all four inners at the same setting, taking it very gently, and using a brand new narrow 3/8" blade with 3TPI skip teeth.


Move the jig towards the blade to the position for the outside shape (in this case 1/14”) and make the outer cuts. I have a notion that this method gives two parallel cuts, rather than different radii and may not work properly on wide pieces.

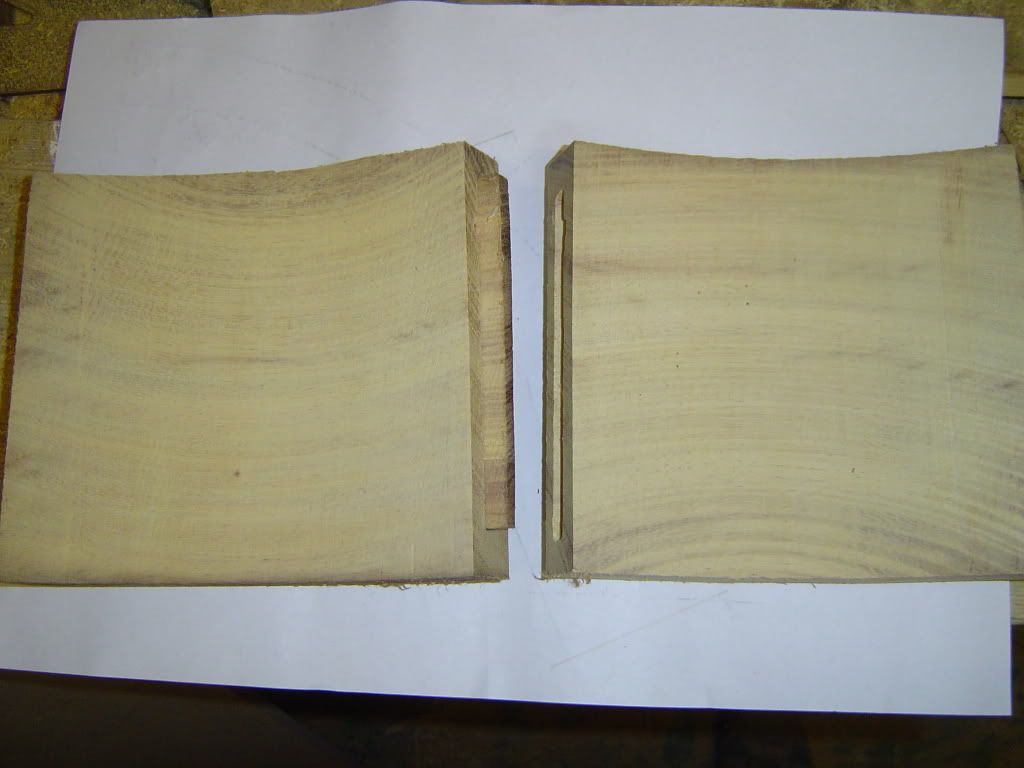
With all four pieces made, I used the offcuts for workholding to square the ends.

Then routed a slot in the ends, avoiding the top & bottom, for cross grain inserts to be epoxied in. By inverting adjacent pieces the grain flows through. The corner pieces will be joined to the straight part of the coaming in the same way.
I will just round over the top, but if you wanted a capping than the method would handle that too. But you would want it to be a different length to stagger the joins so it would mean another jig.
I hope this description may help someone with their coaming, or to make rounded locker ends or whatever.
This is for our old sailing yacht we bought in the spring that is a distraction from the 3 drum boiler build - sorry!
John
