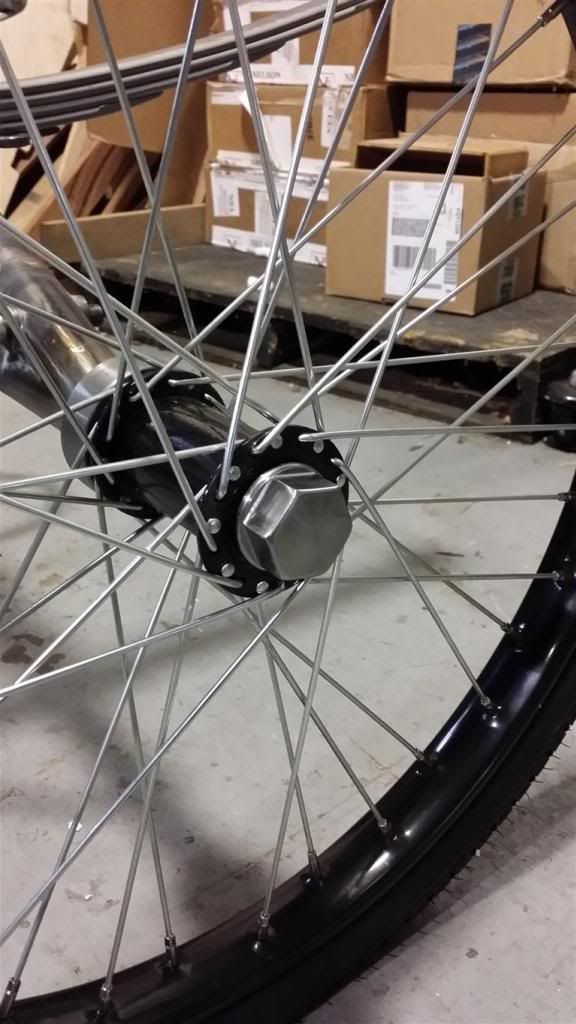
This is a replica of a 1901 Locomobile Style 2 1/2. The engine was completely disassembled and sandblasted then painted. New Stainless piston and valve rods were made. Sealed ball bearings were installed on the new crankshaft and new bronze instead of steel eccentrics were made.
All of the chassis components are copies of the originals and cast in nodular iron. The tubing is Cromoly.
Still have to make the differential which is a casting and bevel gears. Original parts for these are very hard to find. Even information is rather difficult to obtain. I found the original drawings for the 1899 model with a scale, so that has been very helpful. Although the 1901 changes have had to be incorporated.
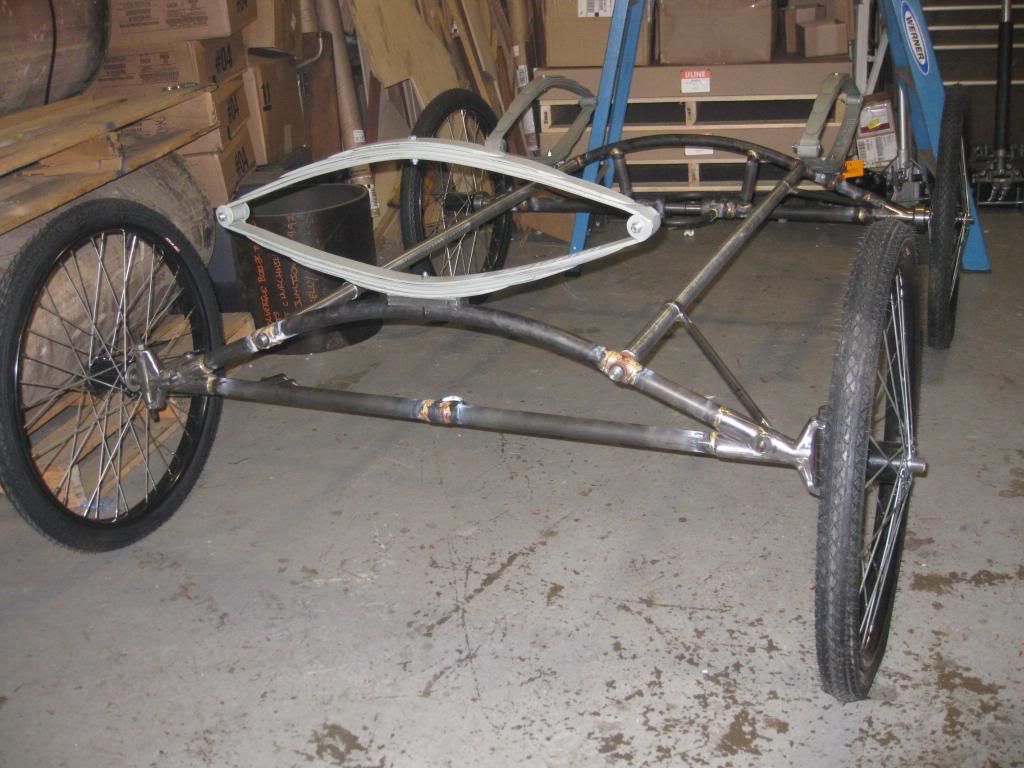
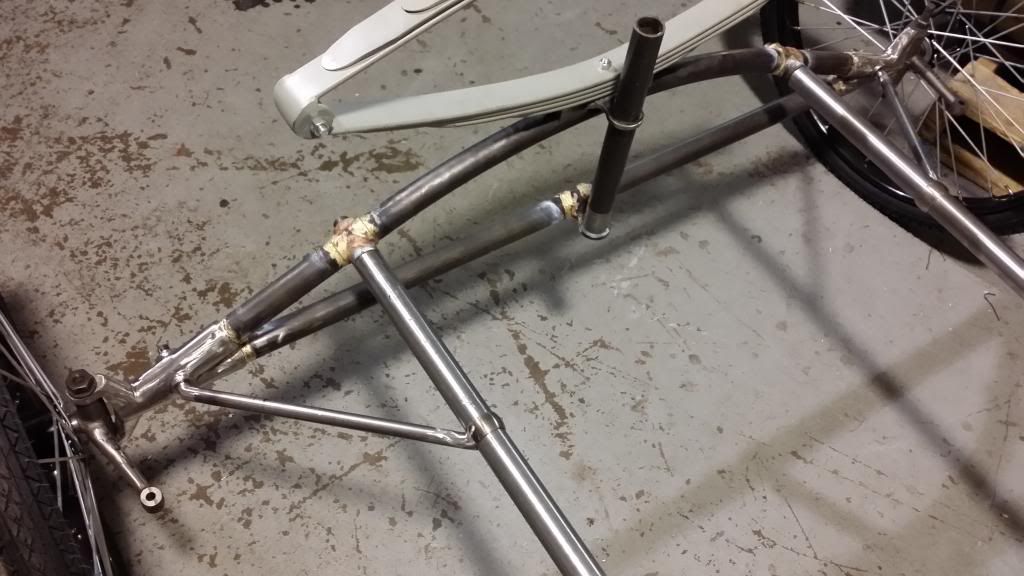
The Chassis:
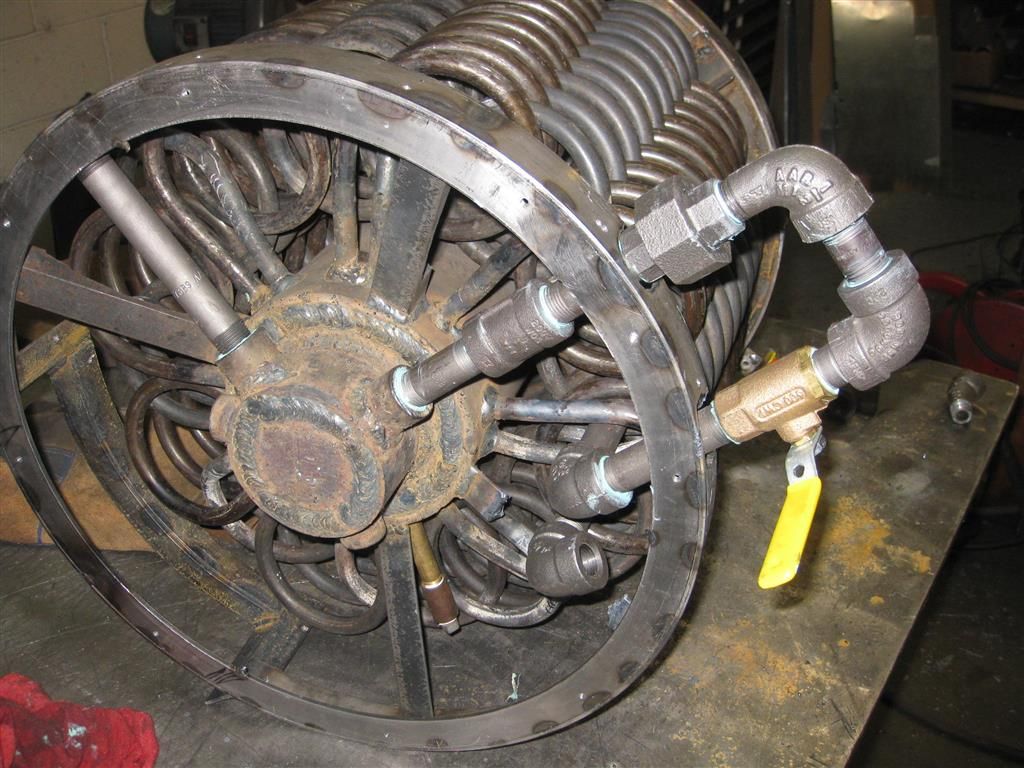
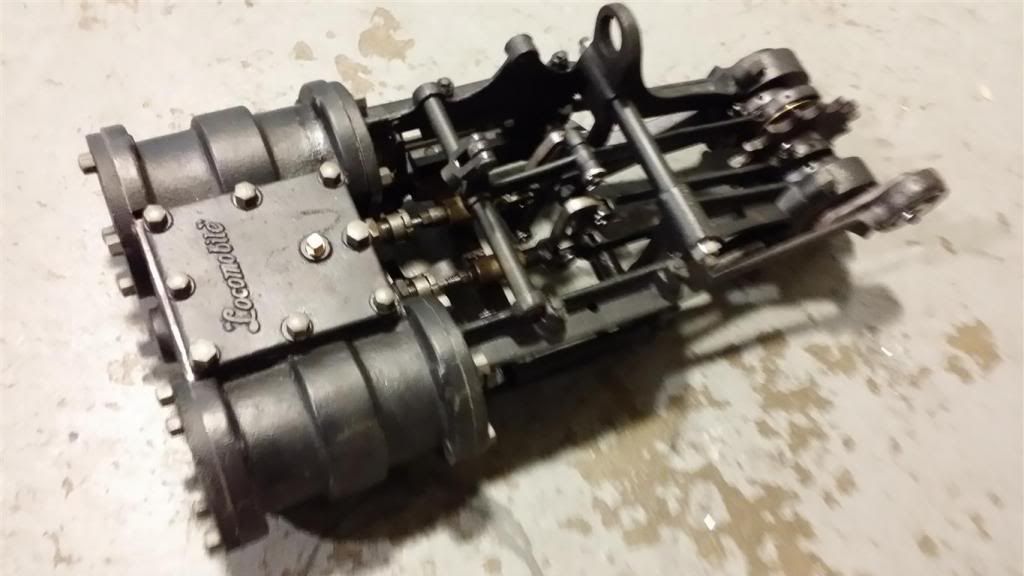
Here is the engine: 2.5" + 2.5" X 3.5"
Before:
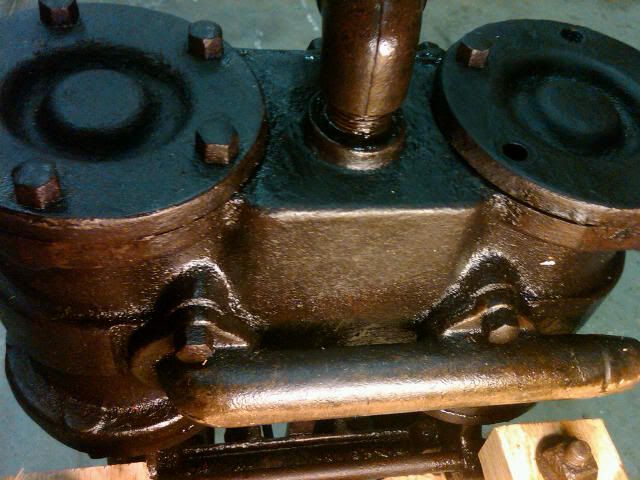
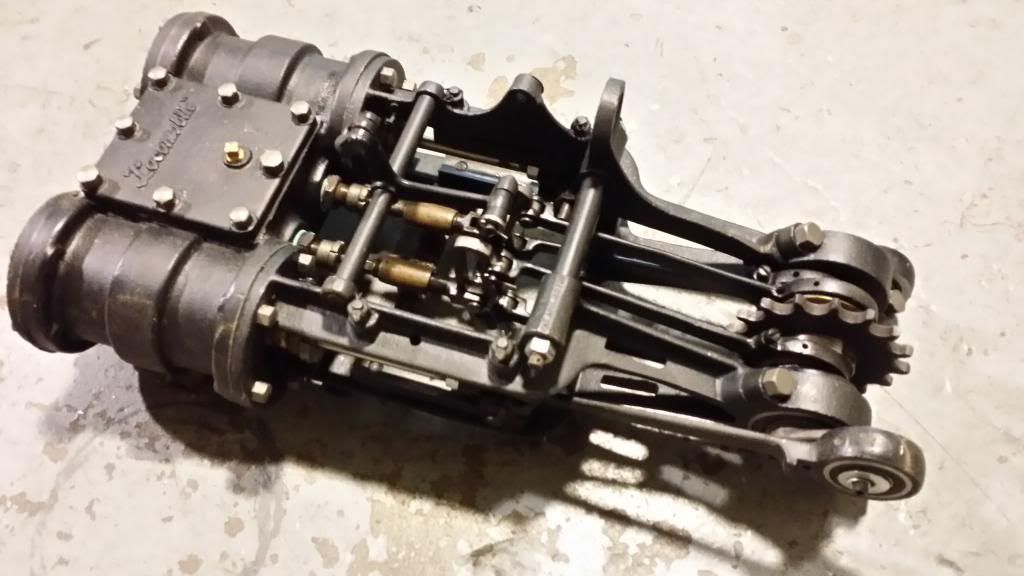
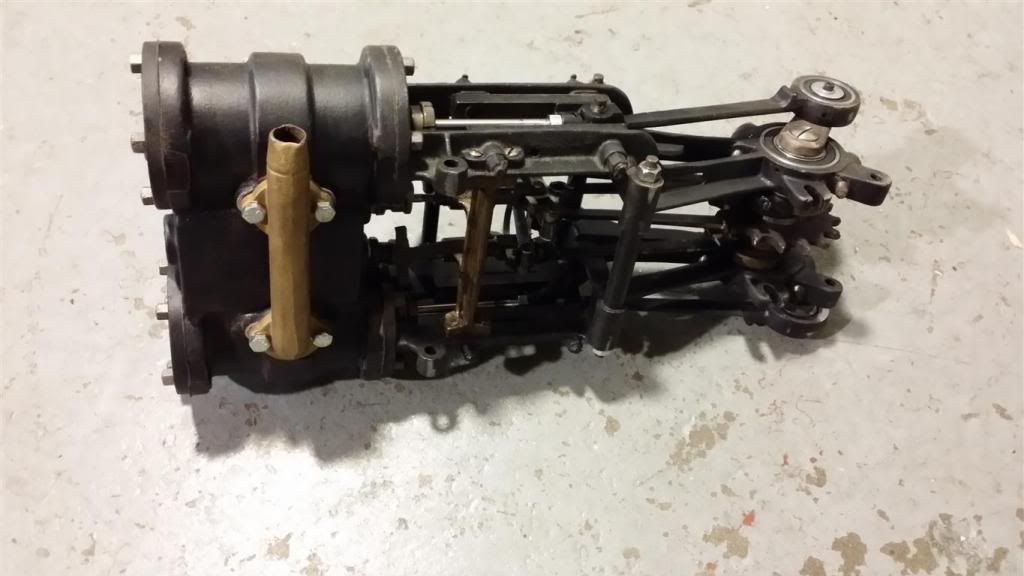
After:
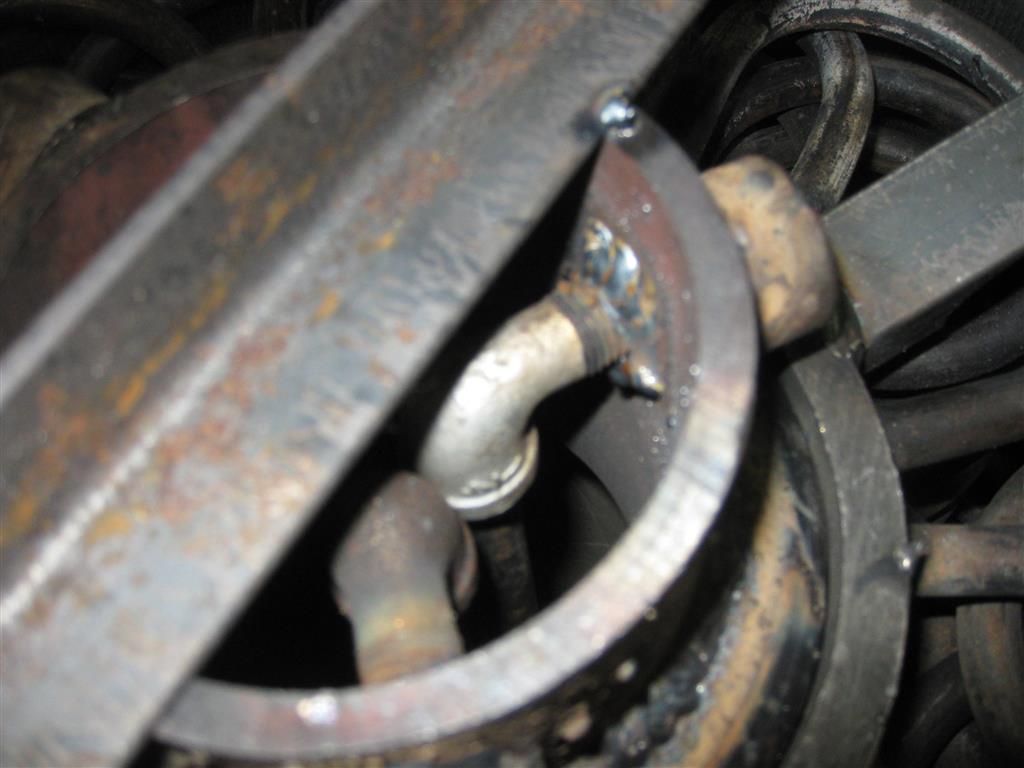
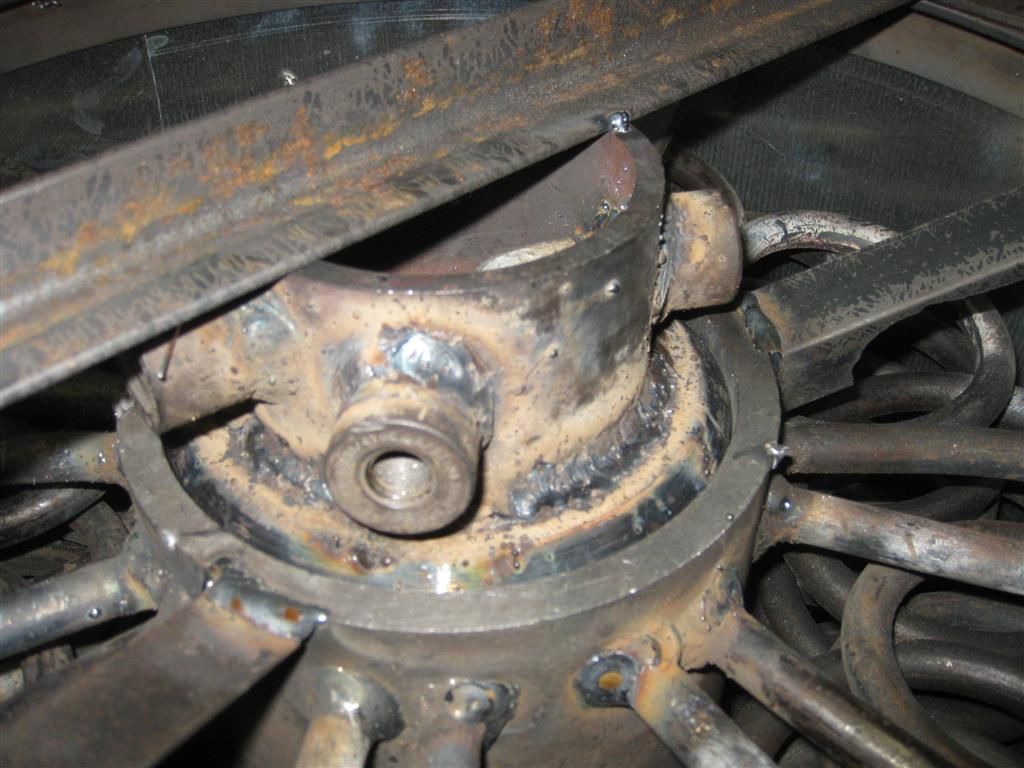
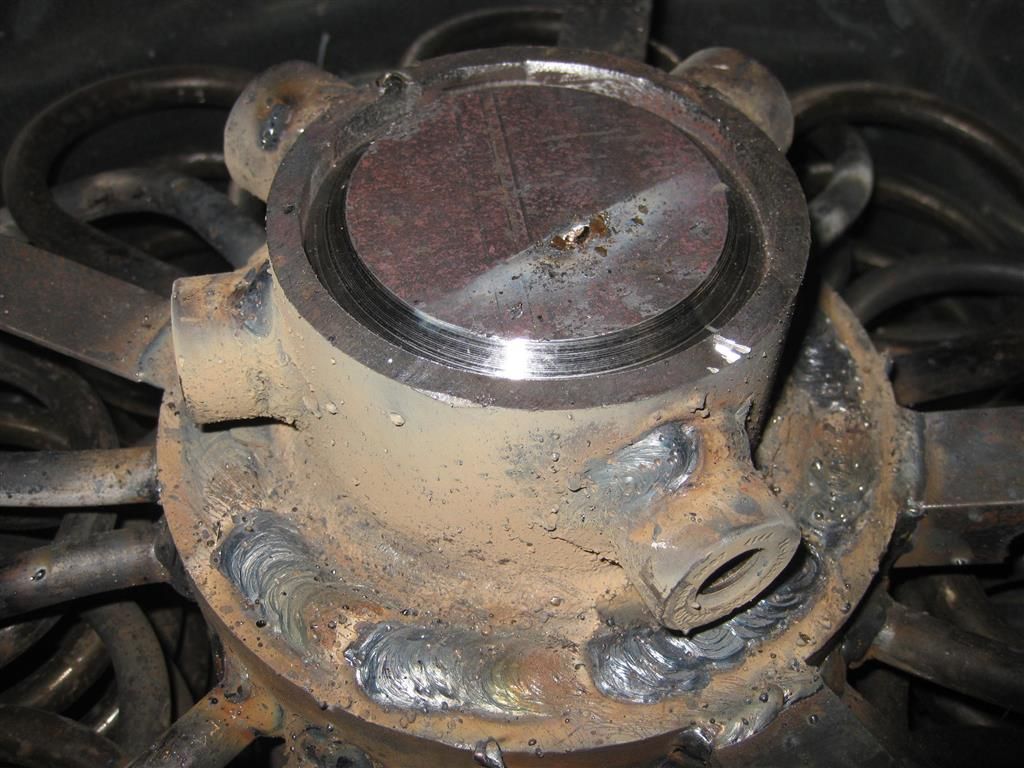
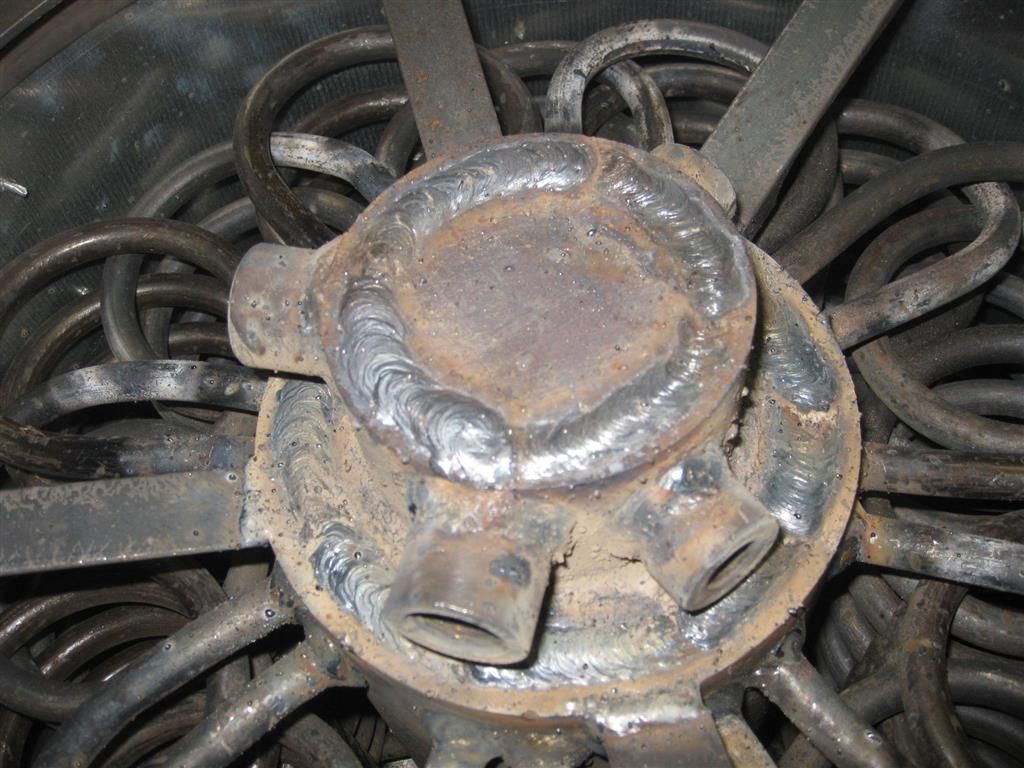
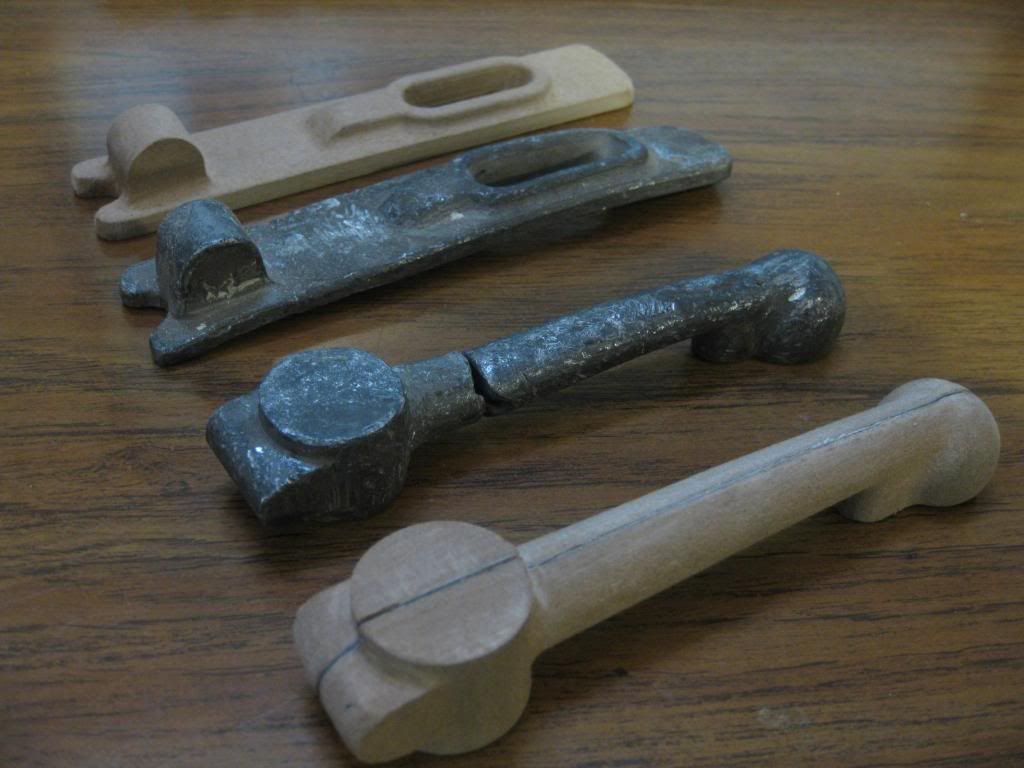
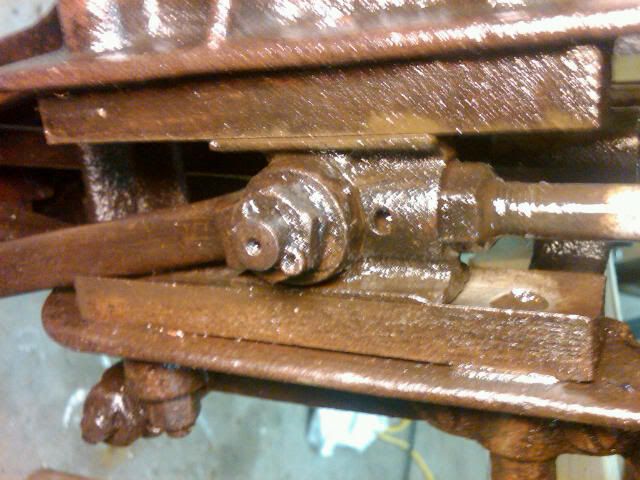
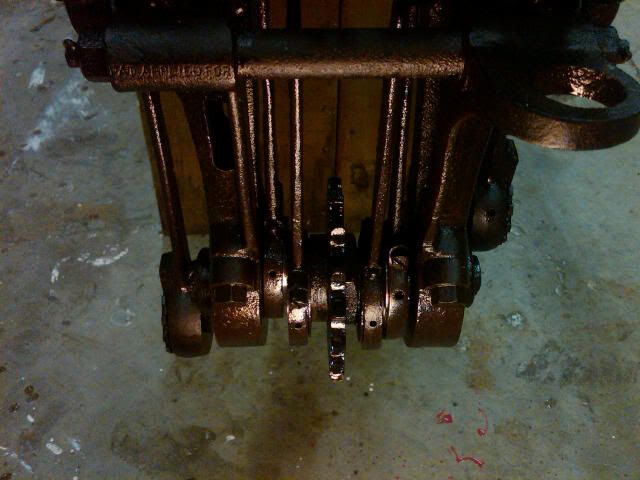
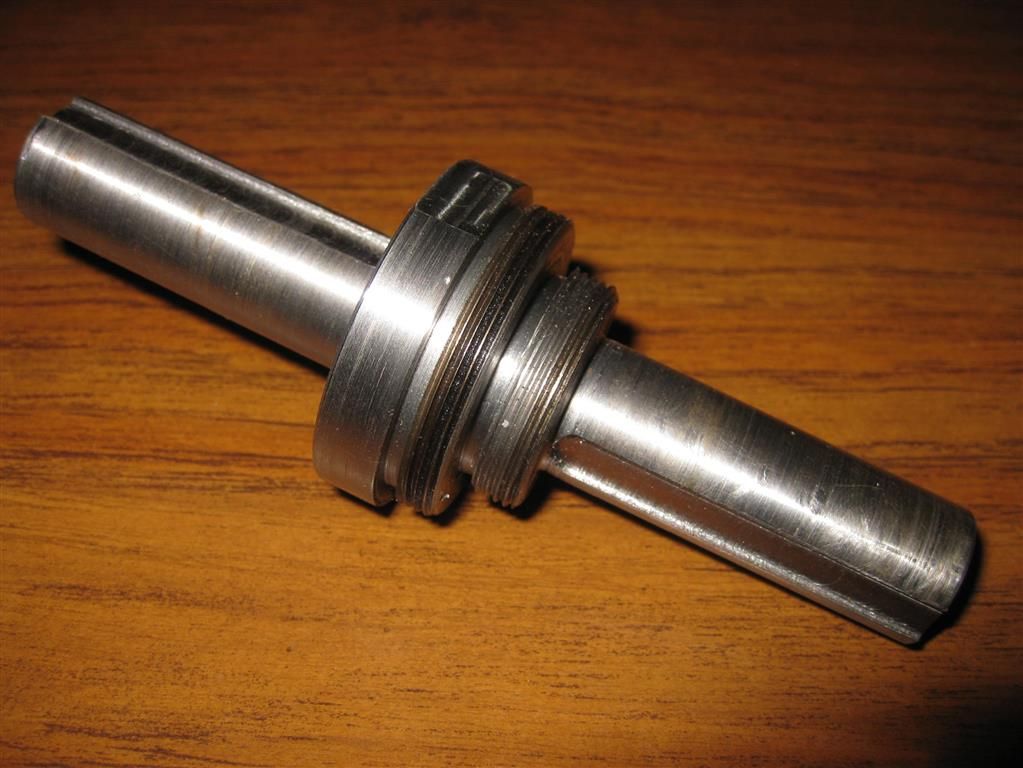
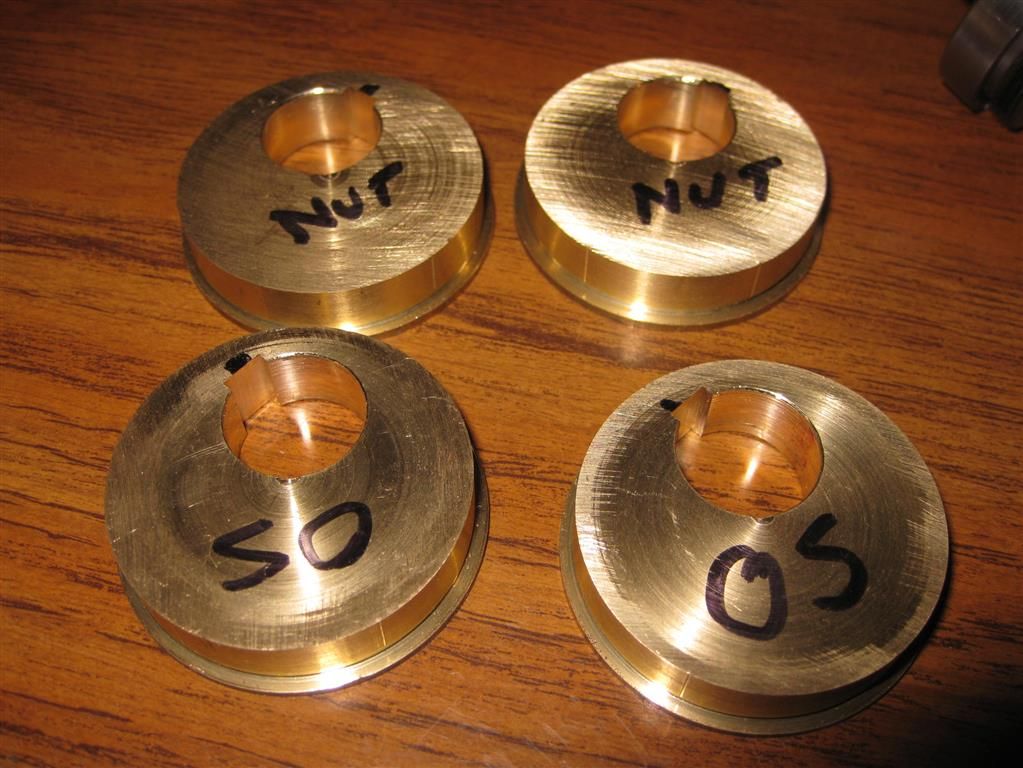
New Crankshaft and eccentrics:
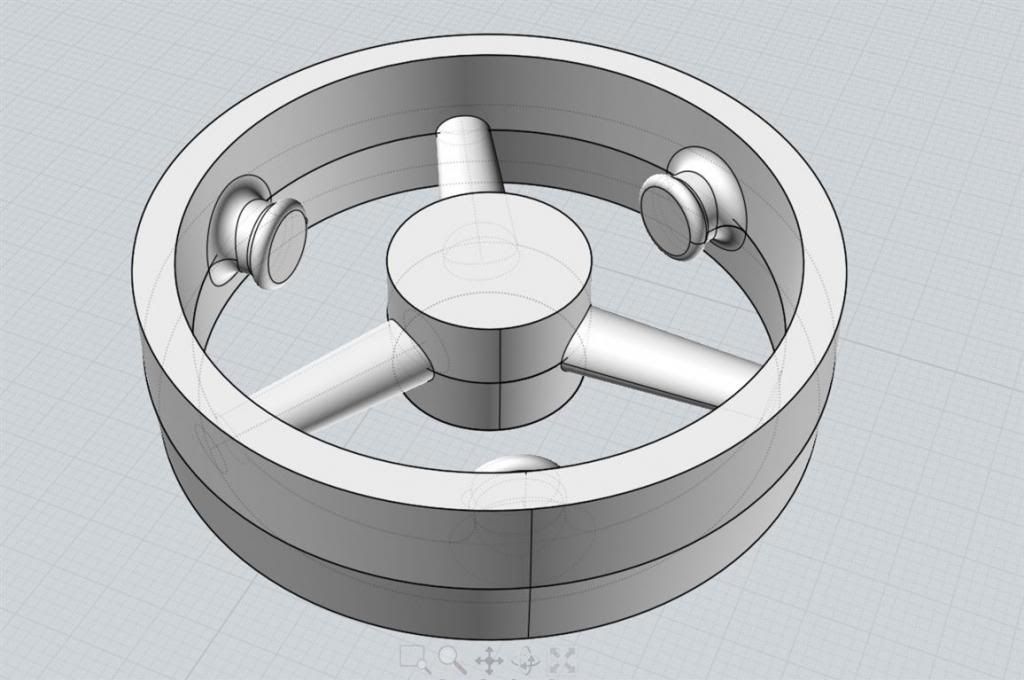
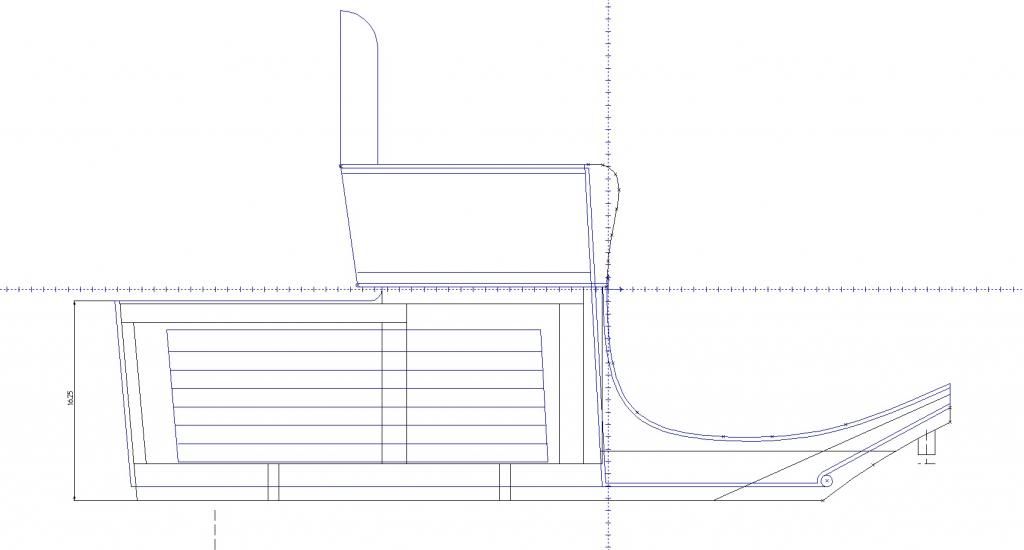
Here is a CAD drawing of the body that I made from two sets of rather confusing hand sketches. The body is white ash:
The black lines indicate the internal framing the blue lines are the trim and seat.
Here is what I'm hoping this one looks like when I'm done: (with minor differences, this is actually an 02 or 03)

-Ron